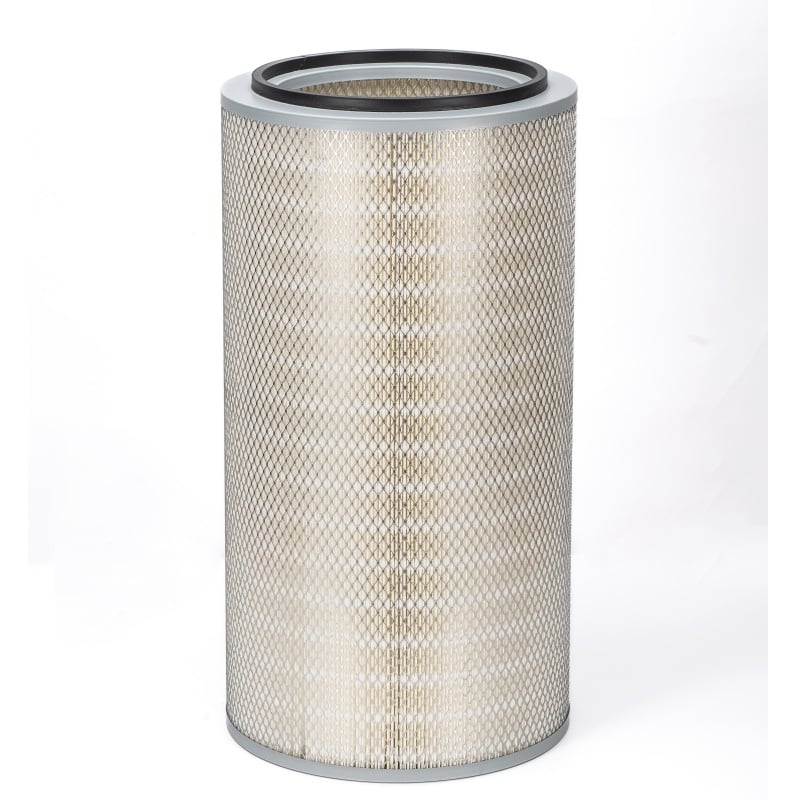
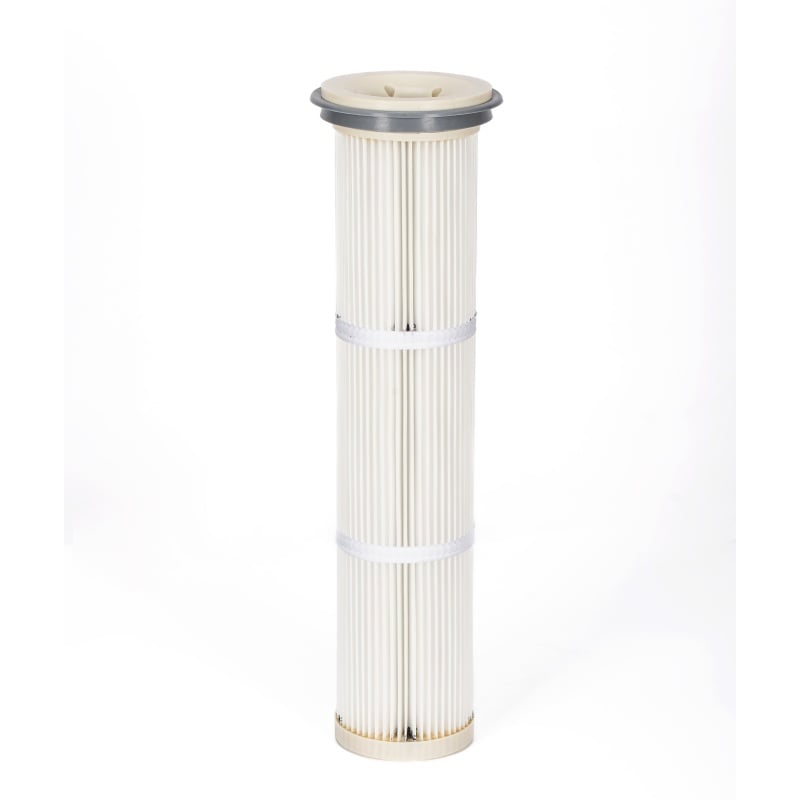
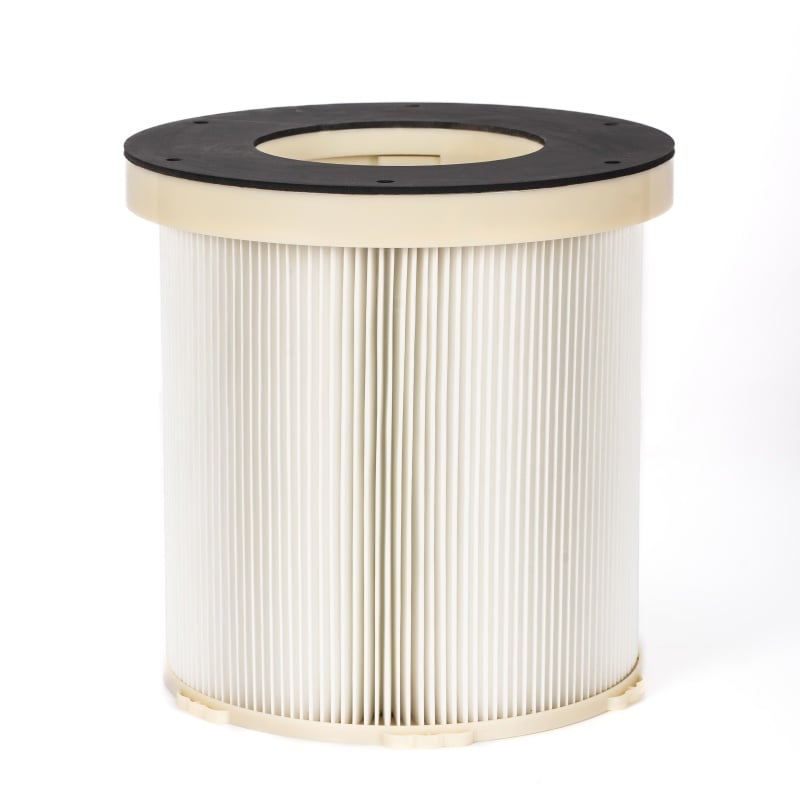
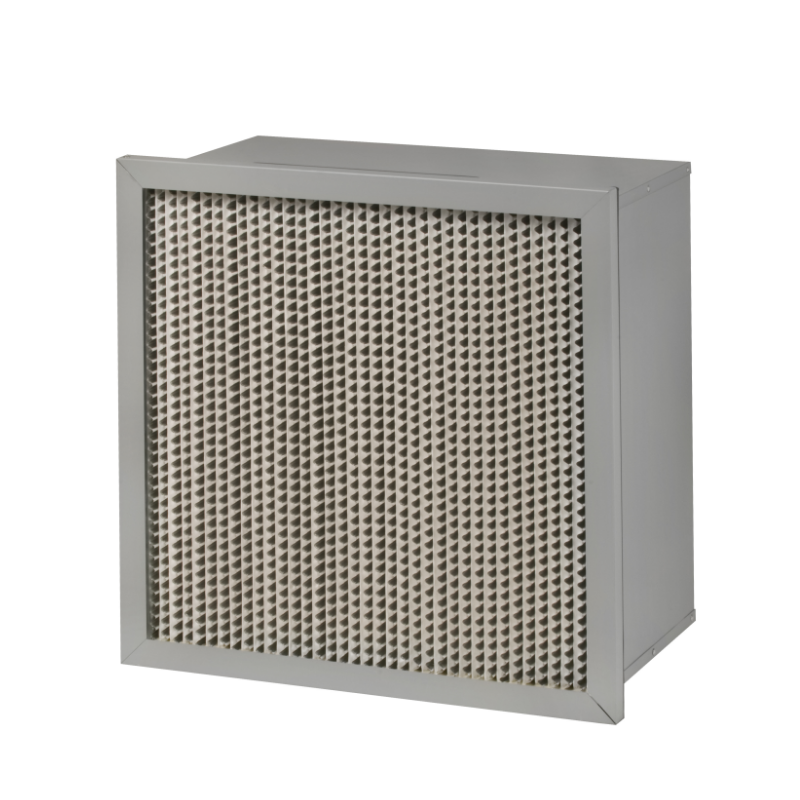
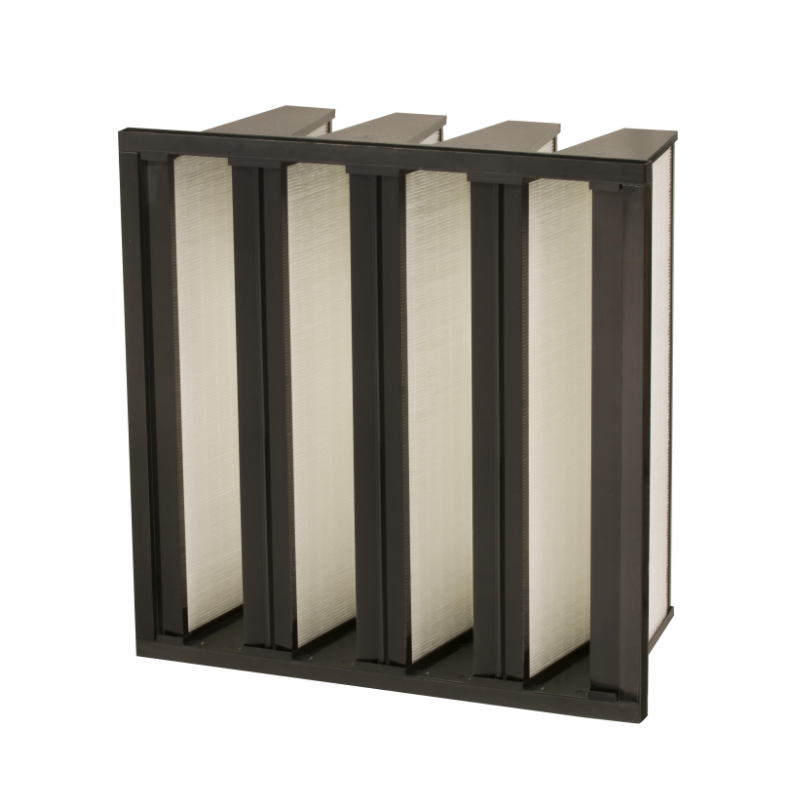
Pleat pinching happens when the pressure difference across a pleated filter cartridge pushes adjacent pleat faces together until they touch. Once they touch, the gas path through that section closes, effective media area drops, and pressure drop climbs. The gauge alone will not tell the story early. A slow rise that does not recover after a cleaning pulse is a better warning. So is a pulse that produces a smaller pressure drop than it did a month ago. On high pressure service, crews should look at the pleat tips after a changeout. Shiny contact marks or flattened pleat edges mean the geometry is closing under load. Catching that early is cheaper than replacing a collapsed cartridge.
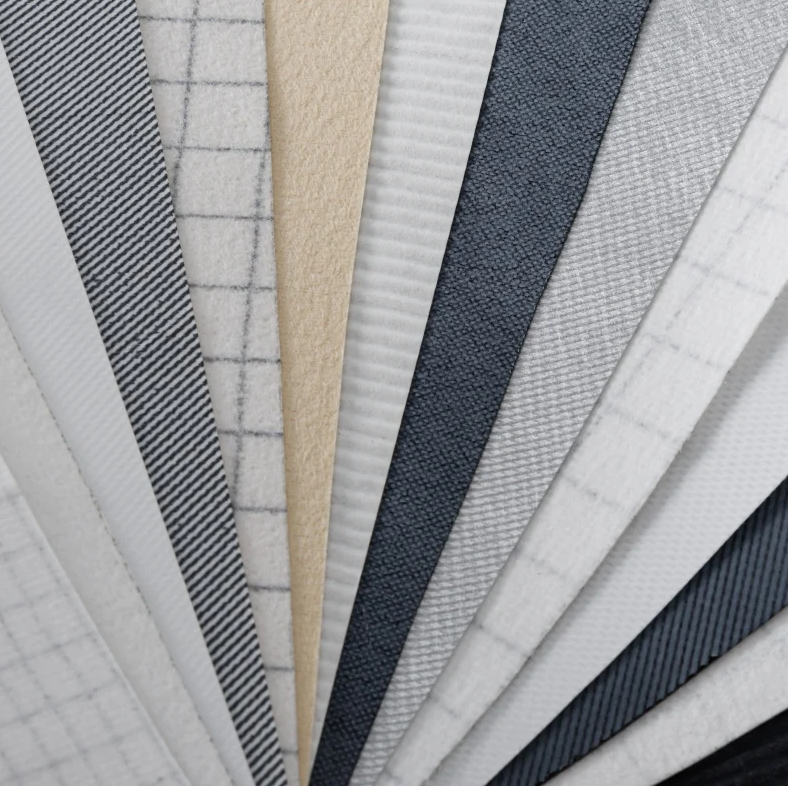
Pleat depth, pleat spacing, and support hardware decide how much pressure the media can take before faces meet. Deep pleats pack more area into a cartridge, but they also give the media more room to deflect. Tight spacing adds area, yet it shortens the distance between faces, so pinching starts at a lower pressure drop. Pleat spacers, support mesh, and bands hold the channels open. The tradeoff is real: more support hardware can reduce usable media area, so the design has to balance area against stiffness. A cartridge that looks good on a flat media test may still pinch in a housing if the pleat pack lacks support. ISO 16890 tests flat media for pressure drop and dust holding, so pleat geometry and support hardware still need a check in the actual housing.
| Design or operating factor | Low pressure behavior | High pressure risk | Field response |
|---|---|---|---|
| Deep pleats with wide spacing | Good area, moderate stiffness | Faces deflect and touch | Add spacers or reduce depth |
| Tight pleat spacing | High area in small space | Pinching starts early | Increase spacing or add support |
| Light support mesh | Low initial pressure drop | Pleat pack collapses | Use heavier mesh or bands |
| Heavy support mesh | Higher initial pressure drop | Lower pinching risk | Accept pressure tradeoff |
| High pulse pressure | Good cake removal | Pleat fatigue and closure | Tune pulse to media rating |
| Uneven inlet airflow | Local low load | Local high pressure drop | Add baffle or revise layout |
High pressure operation does not have to mean running at the cartridge limit. Set a pressure drop alarm below the point where pleats start to close, and trend the reading over time. A single high reading after a dust surge is less worrying than a baseline that creeps upward. Cleaning energy matters too. A pulse that is too weak leaves dust in the pleat roots and raises pressure drop. A pulse that is too strong flexes the pleat pack and can fatigue the media at the fold lines. The goal is a pulse that removes the cake without driving the pleats into each other. Check the pulse pressure at the manifold, not at the compressor, and confirm that the valve size matches the cartridge count.
Support hardware is not glamorous, but it is the difference between a stable pleat pack and a collapsed one. Pleat spacers keep channels open. Support mesh backs the media against the pressure load. End caps and inner cages hold the pack square. Installation hardware matters as well. Overcompressing an end cap gasket can bow the pleat pack and start a pinch point at one side. A cartridge that seats crooked will see uneven pressure drop across its face, and the high side will pinch first. Check that the cartridge sits square in the tube sheet and that the gasket compresses evenly. If the housing uses a clamp, tighten it in a cross pattern.
Airflow distribution inside the housing can create local high pressure drop zones. A poorly placed inlet or a missing baffle sends more gas to one side of the cartridge. That side sees a higher face velocity and a higher pressure drop, and its pleats close first. The fix can be as simple as a baffle or a revised inlet location. Cartridge spacing also matters. Cartridges packed too close together can starve the outer pleats and create a pressure shadow. During installation, confirm that the cartridge is centered and that the gasket is not folded. A folded gasket creates a leak path, and the leak changes the pressure profile across the media. A leak can look like a low pressure drop at first, then turn into a dust pass and a pinched section once the dust load shifts.
At a chemical plant in the South, a pleated filter cartridge in a high pressure housing began to show a pressure drop that climbed from about 1.2 kPa to 2.8 kPa over three weeks. Cleaning pulses brought it down less each time. The cartridges were pulled, and the pleat tips showed contact marks along the outer third of each pleat. The media was intact. The pleat pack had no spacers, and the inlet airflow was biased to one side. The team added pleat spacers on the replacement cartridges, installed a baffle at the inlet, and reset the pulse pressure to the media maker's recommendation. Pressure drop stabilized near 1.4 kPa after cleaning. The case shows that pinching is often a geometry and airflow problem, not a media failure.
Document the fix. Record the pressure drop trend, the pulse pressure, the cartridge position, and any hardware changes. That record helps the next maintenance cycle and shows whether the fix held. Renhe supports this kind of cartridge supply through manufacturing control, incoming material checks, and supply chain planning that keeps pleat geometry, support hardware, and gasket details consistent from lot to lot.
 Hot News
2026-11-13
2026-11-13
2026-11-13
2026-11-13
2026-11-13
2026-11-12
Renhe focuses on air filter cartridge, gas turbine air filter, Pleated Filter Media, industrial dust, Our main products have been recognized as high-tech products in Jiangsu Province, famous trademarks in Wuxi City, and CE certification.
NO. 31 Xingyuan Road, Jiefang Industrial Park, Gushan Town, Jiangyin City, Jiangsu Province, China (214414)
Copyright © 2024 Jiangsu Renhe Environmental Equipments Co., Ltd Privacy Policy
 EN