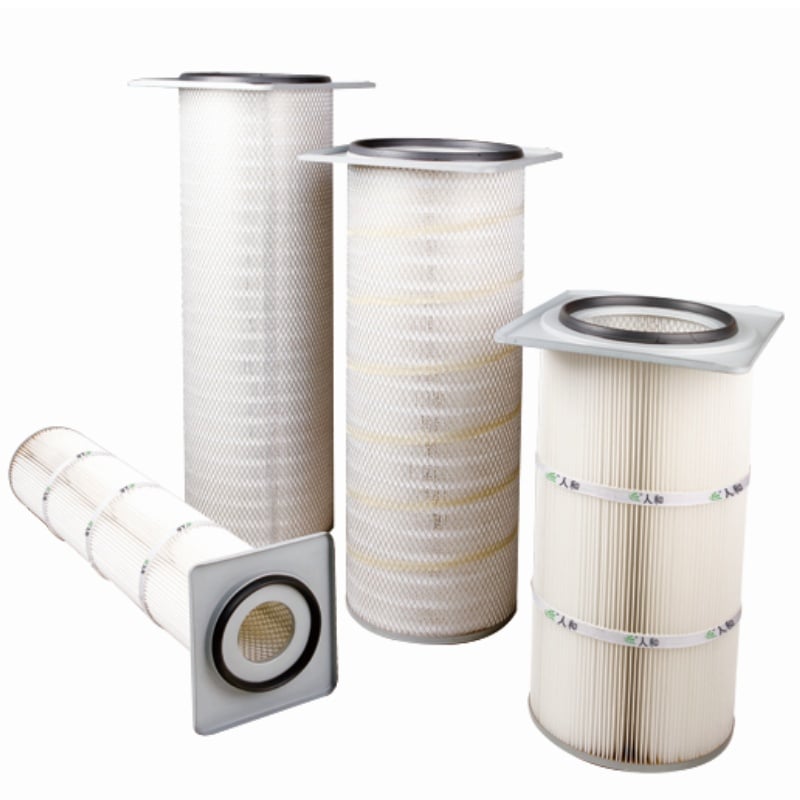
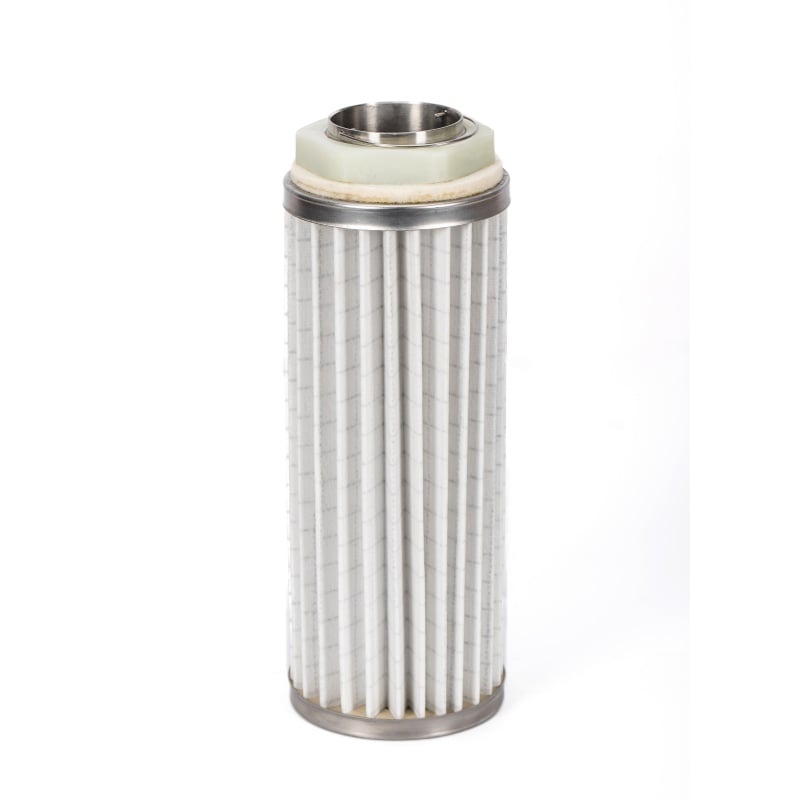
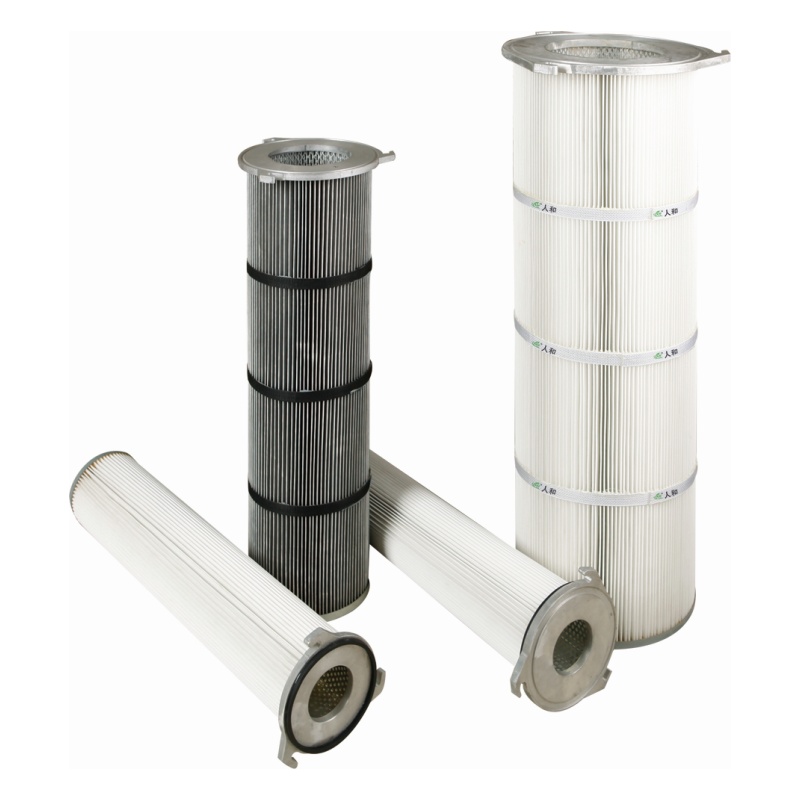
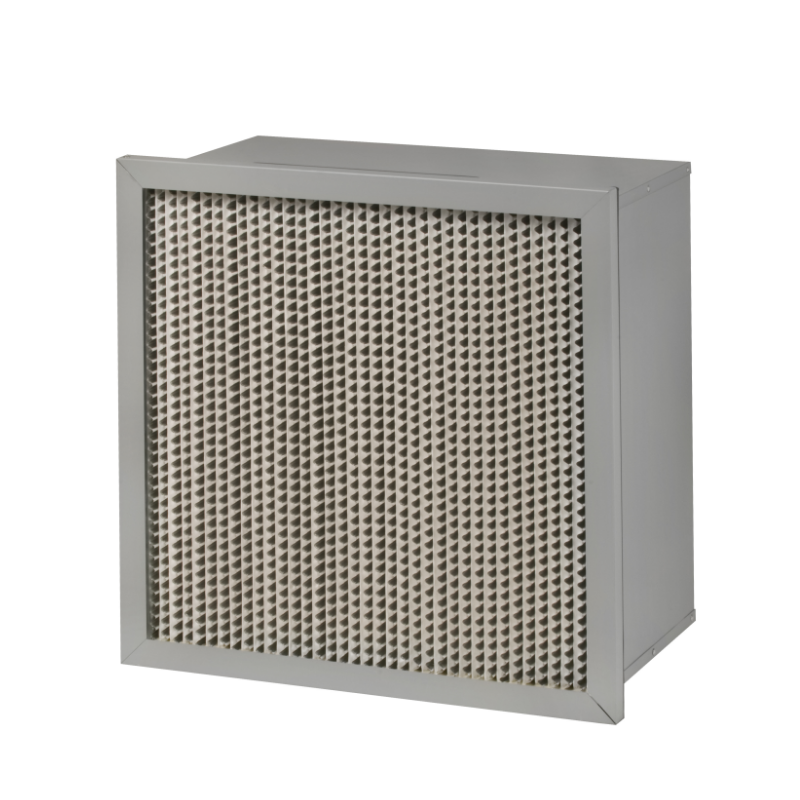
A grounding clip on an anti-static pleated filter cartridge often gets installed like an afterthought. The cartridge slides in, the clip snaps on, and the job moves to the next housing. That approach leaves static control to chance. The clip is a bonded joint. It has to connect the cartridge's conductive path to the housing, and the housing has to connect to plant earth. If the clip lands on paint, rust, or a soft gasket, the path can read open even when the clip feels tight. Proper installation starts with the clip as part of the electrical route, not as a final touch.
At a powder coating plant in the Midwest, a crew installed anti-static pleated filter cartridges in a housing with a coated tube sheet. The clips snapped on with a solid feel. A resistance check from the cartridge cage to the housing read open. The clip had bitten into powder coating instead of bare metal. A masked pad and an external tooth washer fixed the reading. The cartridge was fine. The landing point was not.
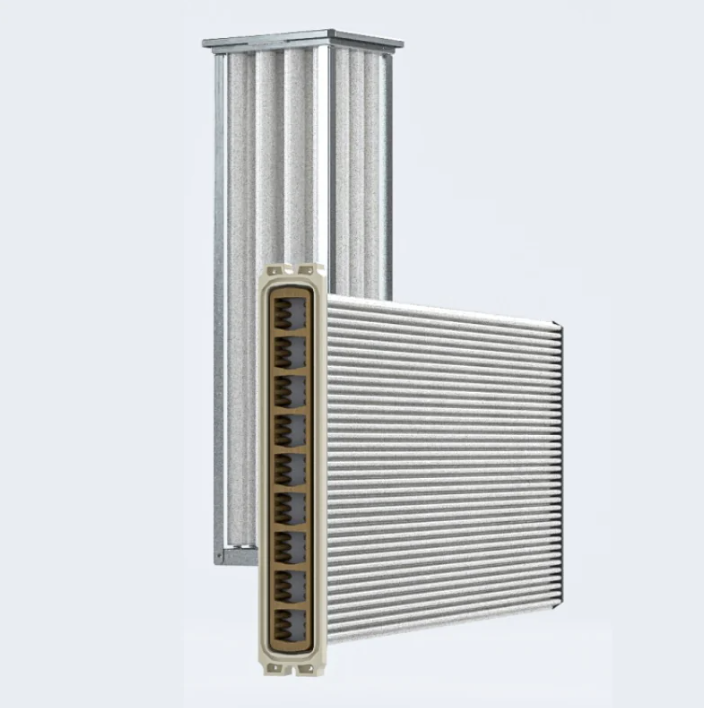
Before the cartridge goes into the housing, find the bare metal landing point for the clip. Check the housing drawing and the cartridge maker's instructions. The clip should land on a conductive surface that ties to the housing bond, not on a decorative cover or a removable panel with a loose fastener. Clean the area and confirm that a meter reads continuity from the landing point to the housing bond. If the housing has powder coating, the landing point needs a masked pad, a stud, or a star washer that cuts through the coating. A clip on painted steel is a clip on an insulator.
Keep the landing point close to the cartridge seat. Long clips or jumper wires add resistance and create snag points during service. Use the clip and hardware specified for the housing and the cartridge. If the clip is spring loaded, check that it compresses against bare metal through its full travel. A clip that only touches at the edge of its travel can open when the cartridge settles.
Surface preparation decides whether the clip works. Remove paint, rust, scale, and dust from the landing pad. Wipe the pad dry. Do not use a solvent that leaves an oily film. If the housing has a gasket at the clip location, confirm that the gasket has a cutout or that the clip lands beside it. A soft gasket under a clip acts as a spring and an insulator at the same time.
Match the clip type to the housing. A screw-down clip needs a tapped hole and a star washer. A spring clip needs a clean edge and enough travel. A stud-and-nut clip needs a masked pad and a flat washer. The table below is a field guide, not a universal spec. Housing design, area classification, and site standards set the final choice.
| Clip type | Best landing surface | Common failure | Field check |
|---|---|---|---|
| Screw-down clip | Bare metal pad with tapped hole | Paint under washer | Tug test and meter reading |
| Spring clip | Clean edge, bare metal | Contact only at travel limit | Compress and release check |
| Stud-and-nut clip | Masked pad on coated steel | Loose nut after vibration | Torque check and continuity |
| Push-on clip | Conductive rail | Rail coated or dirty | Meter from clip to housing |
| Jumper wire clip | Bonded stud | Wire folded under gasket | Pull test and visual check |
Seat the cartridge first, then install the clip. If the clip goes on before the cartridge is square, the clip can bend or land off the pad. Confirm that the cartridge sits flat and that the gasket is not folded. Then attach the clip and tighten any hardware in a cross pattern. Do not overcompress a spring clip. Overcompression can bend the clip and reduce contact area.
Check continuity at three points: from the cartridge cage to the clip, from the clip to the housing, and from the housing to plant earth. Record the readings. NFPA 77 treats bonding and grounding as a system of conductive paths, so each joint matters. IEC 60079-0 also calls for continuity checks on conductive parts in hazardous areas. A single reading at the housing does not prove the cartridge is bonded. The meter has to see the whole route.
Several ordinary details can undo a good clip. Powder coating under a star washer, a gasket with no cutout, a clip that lands on a removable cover, a wire folded under a cartridge end cap, and a fastener that loosens under vibration. Service work adds risk. After a cartridge change, the clip may be reused but the landing pad may be dirty or painted over during touch-up. A new gasket may be thicker and lift the clip off the pad.
Do not rely on a visual check. Use a calibrated meter and a light tug test. If a reading drifts, stop and find the joint that changed. A clip that reads open is not protecting the cartridge, and a cartridge that is not bonded can hold static charge even when the housing is grounded.
Write down the clip type, landing point, meter model, calibration date, and readings. Note any masked pads, star washers, or jumpers used. That record helps the next technician repeat the same route and helps during audits. After service, repeat the continuity check. A clip that worked at startup can fail after a cartridge change or a housing touch-up.
Renhe supports this kind of installation work through manufacturing control and incoming material checks that keep cartridge cage dimensions, clip details, and gasket fit consistent from lot to lot. A grounding clip still depends on the installer's hands, but consistent parts make the bond easier to repeat.
 Hot News
2026-11-13
2026-11-13
2026-11-13
2026-11-13
2026-11-13
2026-11-12
Renhe focuses on air filter cartridge, gas turbine air filter, Pleated Filter Media, industrial dust, Our main products have been recognized as high-tech products in Jiangsu Province, famous trademarks in Wuxi City, and CE certification.
NO. 31 Xingyuan Road, Jiefang Industrial Park, Gushan Town, Jiangyin City, Jiangsu Province, China (214414)
Copyright © 2024 Jiangsu Renhe Environmental Equipments Co., Ltd Privacy Policy
 EN