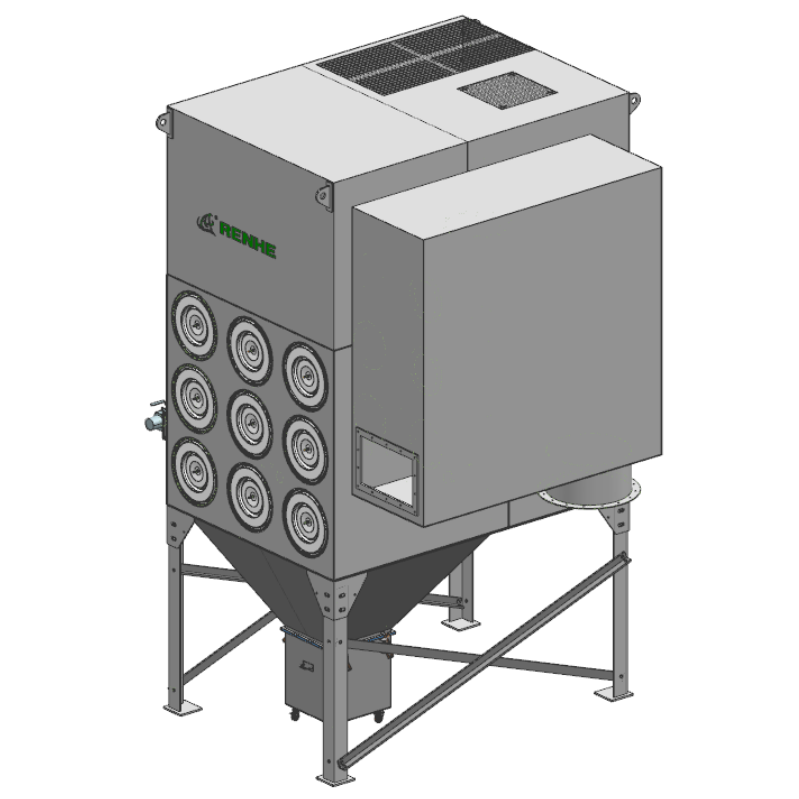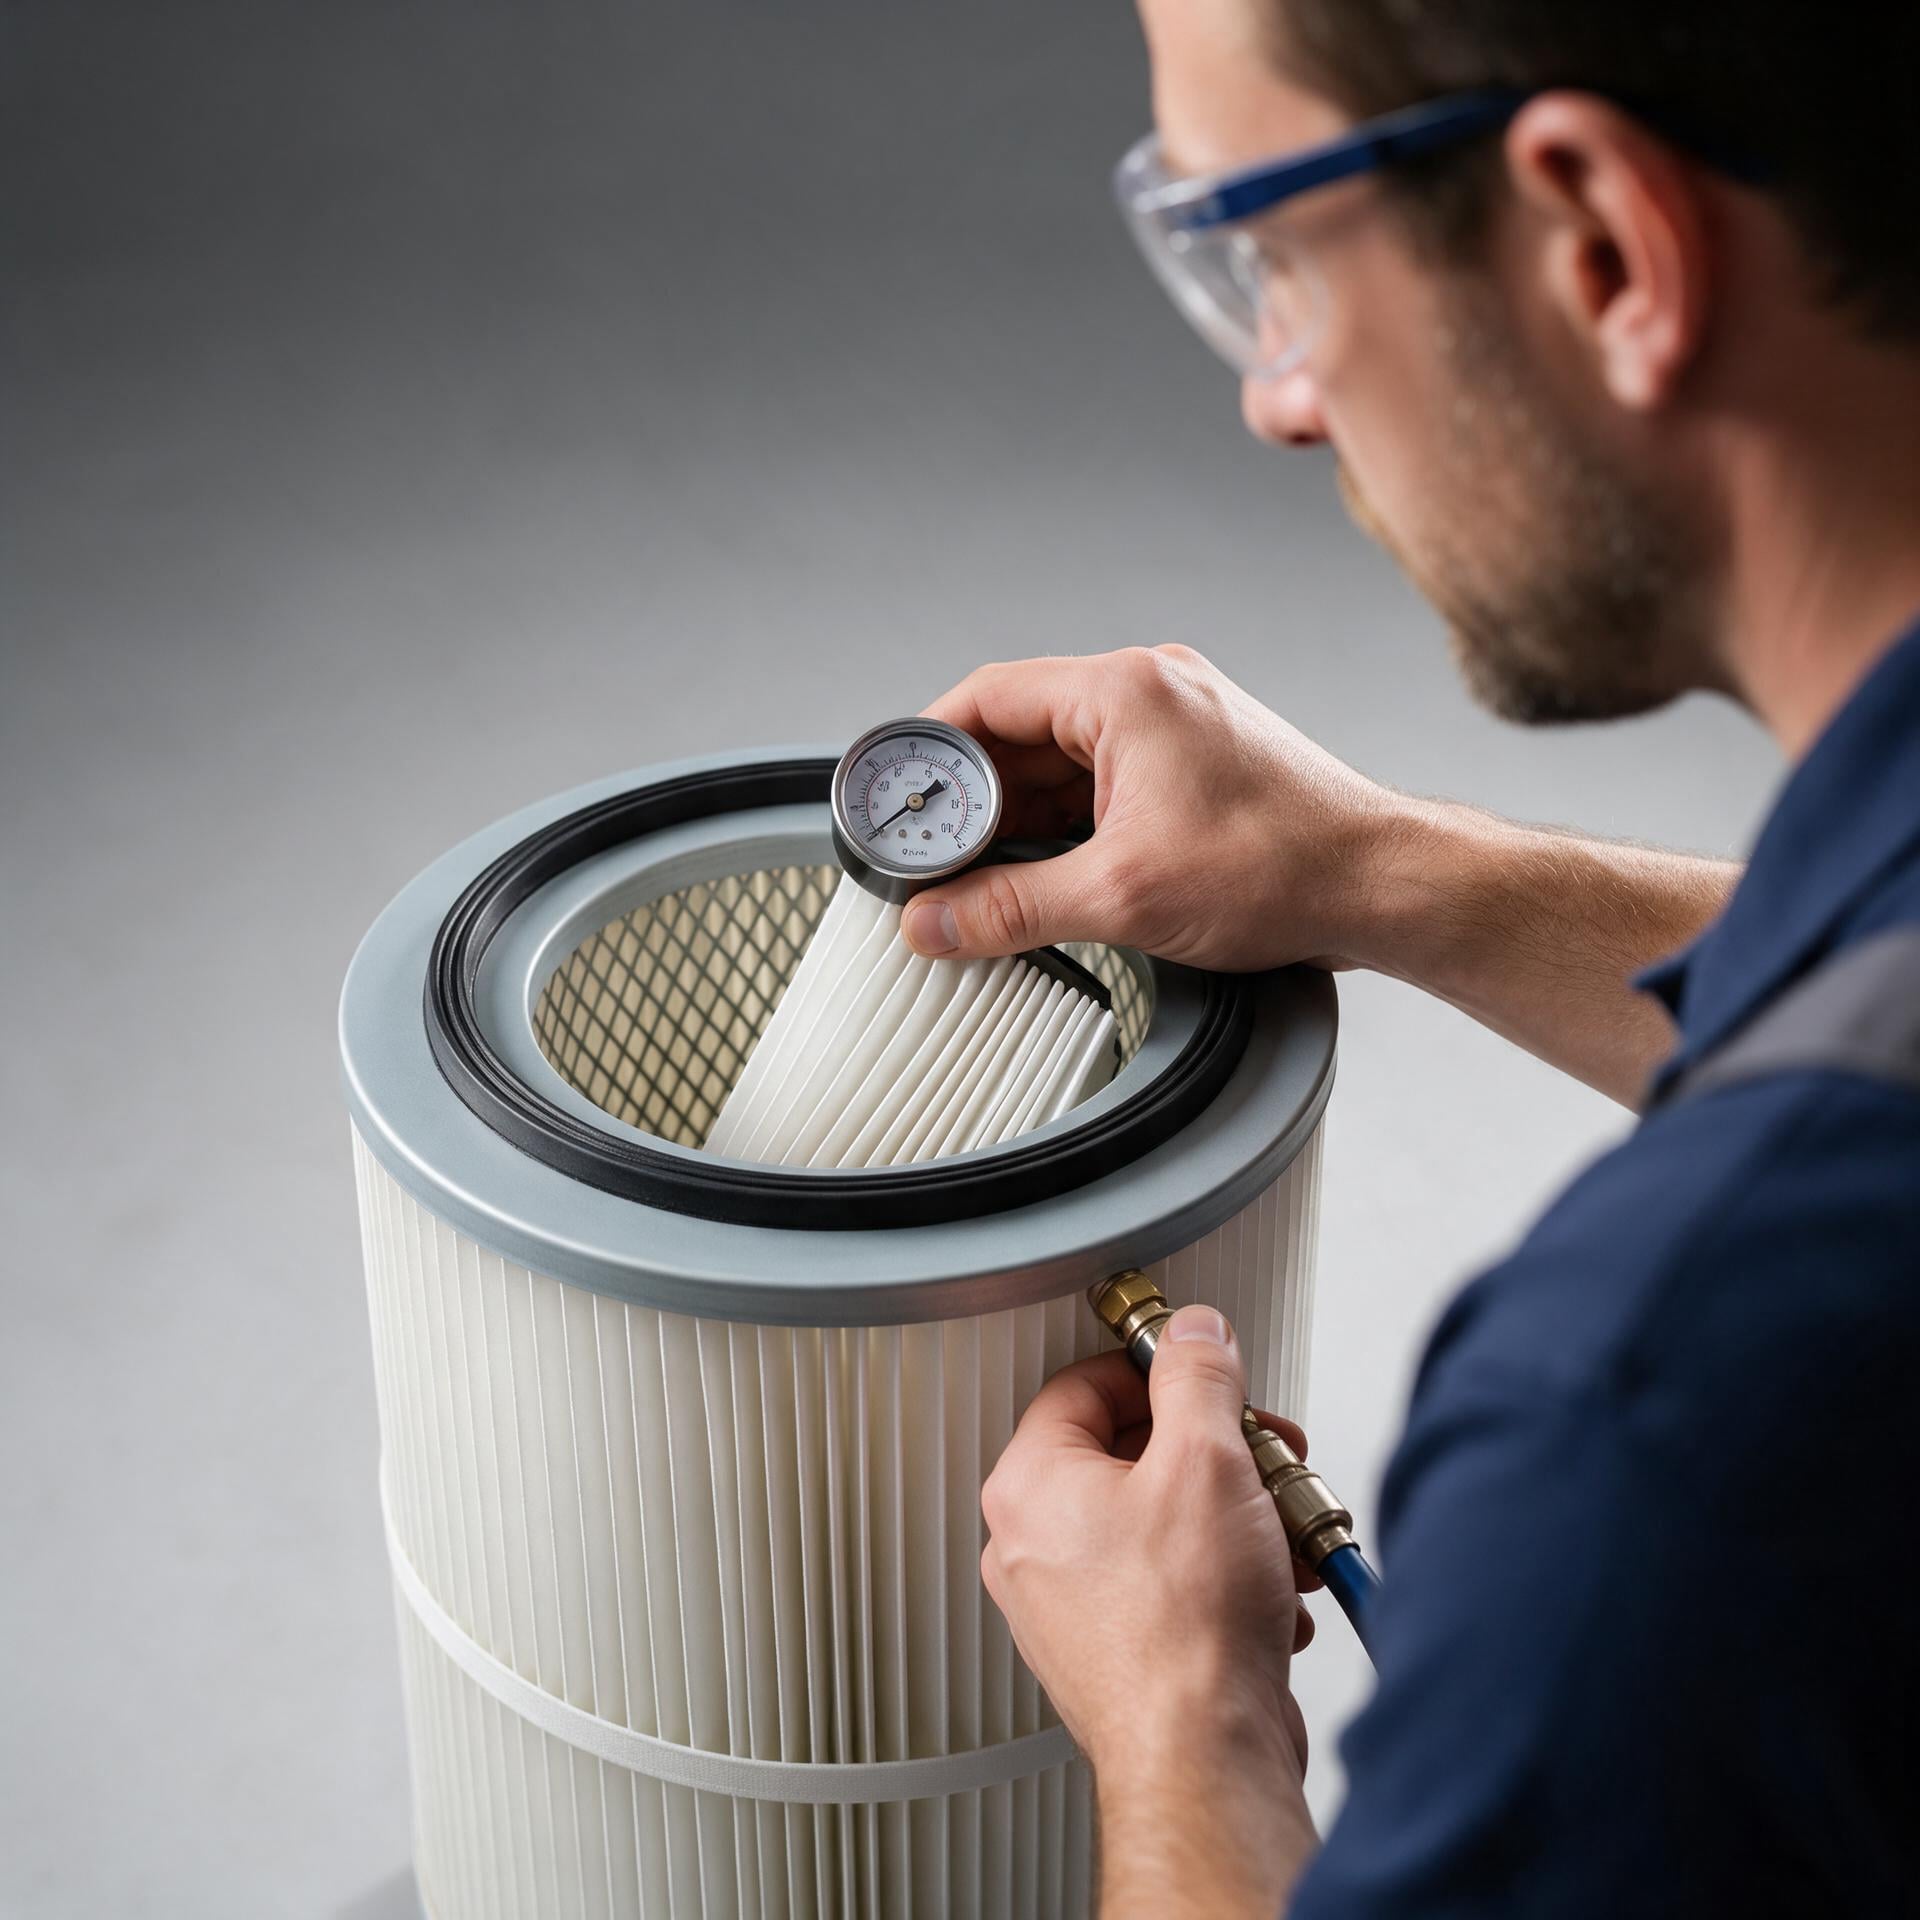
A failed filter is rarely announced clearly. More often the plant sees gradual symptoms: a fan working harder, a faint dust bloom at the stack, or a pressure gauge that no longer settles after cleaning. Recognising those signs early protects both product quality and the downstream equipment, and tells you when a dust collector filter cartridge is due. This guide sets out the practical indicators that a dust collector filter cartridge should be replaced, using the resistance stages of the RH XLC II horizontal collector as a reference. The aim is to give maintenance teams a condition based checklist rather than a fixed calendar date, because cartridge life depends on dust load and cleaning quality.
Resistance is the most honest indicator available on most collectors. In the RH XLC II unit the figures are given as an initial 120 to 250 Pa, a working 500 to 700 Pa, and a terminal 1000 to 1250 Pa. When a dust collector filter cartridge reaches the terminal band and pulse cleaning no longer brings resistance back toward the working range, replacement is due. A rising baseline after each clean is a stronger signal than a single high reading. Operators should log resistance at the same point in every cleaning cycle so that trends are visible. Relying on a number without its trend is a common mistake, because a short spike after a heavy load can recover on its own.
Pressure drop is the day to day sign that cleaning has stopped being effective. After a normal pulse, resistance should fall noticeably. If it stays high, the media may be blinded by fine or sticky dust rather than simply loaded. A dust collector filter cartridge in that state will not release dust even with a stronger pulse, and continuing to run wastes fan energy. In a cartridge dust collector the cause can be a mismatched media for oily particles, or a pulse that reaches only part of the pleats. Either way the practical response is to inspect the element and confirm the cleaning system before deciding to replace it. A pressure drop that never recovers is a reliable replacement sign.
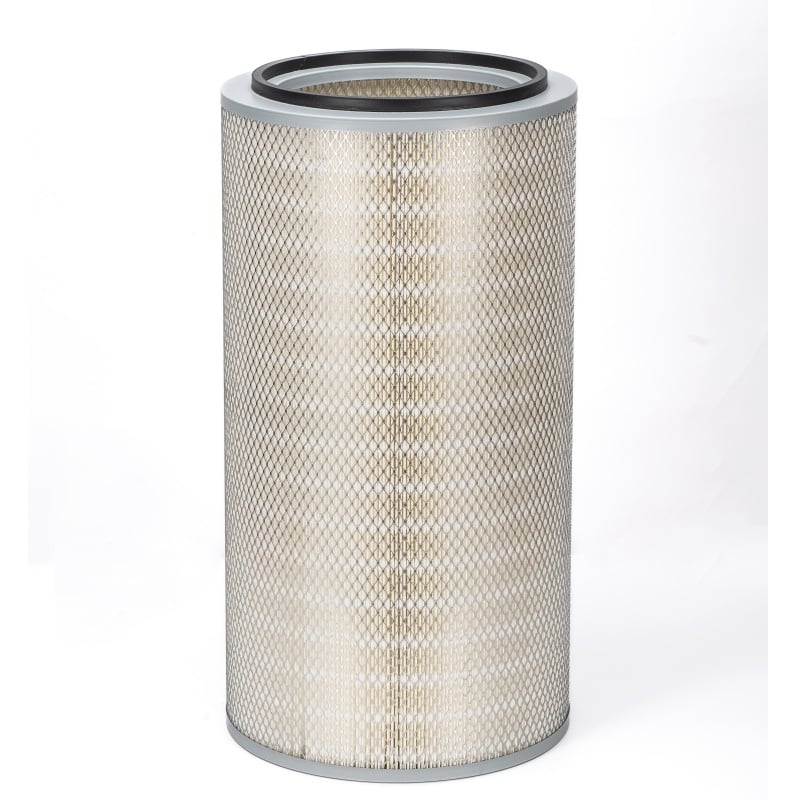
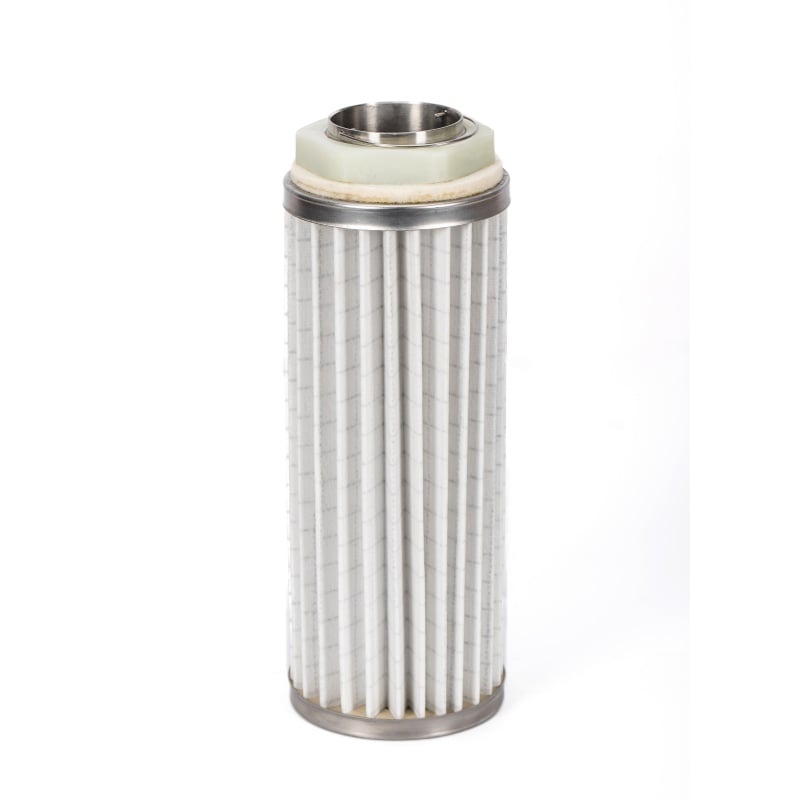
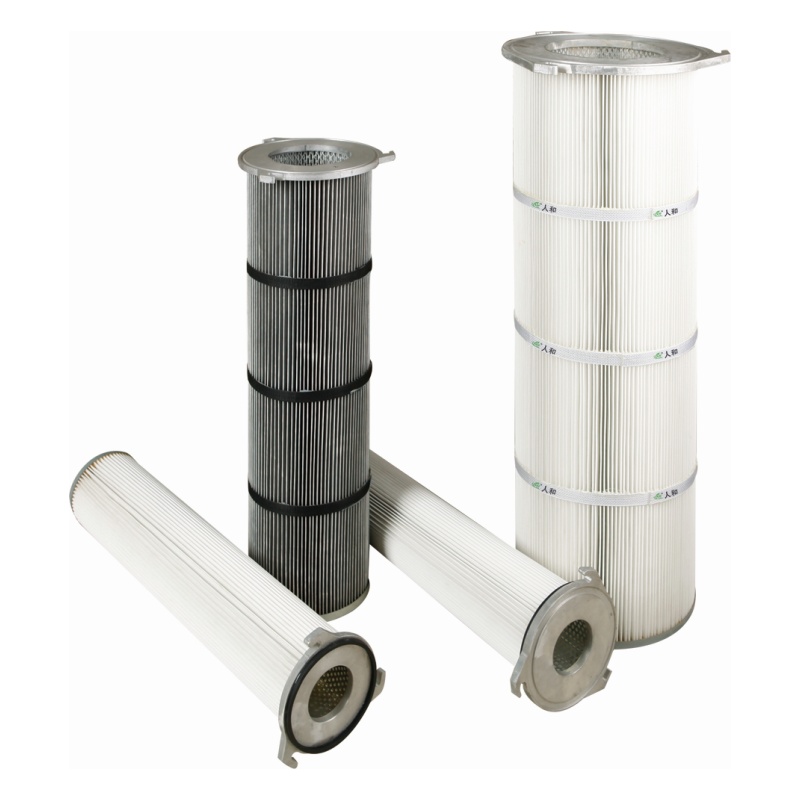
Not every failure is gradual. A torn element, a collapsed pleat or a damaged gasket can appear after an impact or a handling error. Visible dust on the clean side of the cabinet is a clear sign that the dust collector filter cartridge is no longer sealing. In that situation replacement is urgent, because fine particles can reach the fan and the workplace. The RH XLC II design uses an anti abrasion baffle at the inlet to reduce direct strike on the media, but no baffle prevents every mistake during service. Any dust collector filter cartridge that has been dropped or forced into place should be examined closely. A rubber gasket that is cracked or flattened should be renewed together with the element.
A change in emissions is a sensitive indicator of filter condition. If the outlet looks dustier than usual, or if product near the collector shows a fresh film of powder, the filtration barrier has weakened. For a dust collector filter cartridge serving a food, pharmaceutical or fine chemical line, that sign matters more than resistance, because product purity is at stake. A gradual rise in downstream dust can also mean the element is seated poorly rather than worn out. Checking the seat and gasket is therefore part of any emissions investigation. When emissions worsen while resistance is still moderate, inspect before assuming the cartridge is simply aged.
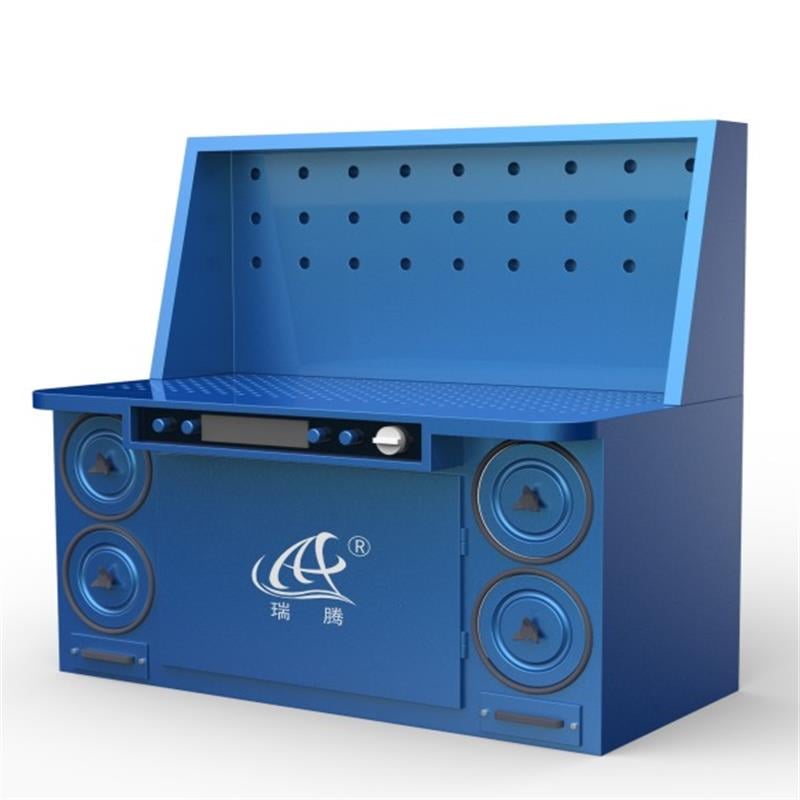
An anonymous casting operation with a constant drenching station gives a concrete example. Dusty air was drawn through a hood into a cartridge collector, then through a second high efficiency stage before returning to the workshop. The plant reported capture above ninety eight percent and outlet concentration below one milligram per cubic metre. Those results depended on replacing the dust collector filter cartridge at the right moment, before resistance climbed into the terminal band. Jiangsu Renhe supplied the filtration stage, and the case shows how a monitored resistance trend protects both the collector and the clean-air return. In a system that returns air to the room, a late replacement is a direct risk to indoor air quality.
A practical checklist makes the decision repeatable. Log resistance at the end of each cleaning cycle and mark the point where recovery slows. Inspect the clean side for dust at every scheduled walk through. Check the gasket and seat whenever an element is handled. Compare outlet appearance against the normal baseline. When several signs appear together, replace the dust collector filter cartridge without waiting for a calendar interval. In a cartridge dust collector, consistent replacement practice also keeps pressure drop stable and protects pleated media downstream. Requesting test documents and supplier guidance helps a team set its own thresholds for the specific dust involved.
Question one: Can I use resistance alone to decide replacement?
Answer: Resistance is the main indicator but not the only one. Combine it with recovery after cleaning, outlet appearance and gasket condition. In the RH XLC II the terminal band of 1000 to 1250 Pa is a clear signal to act.
Question two: What if pressure drop stays high right after cleaning?
Answer: That usually means the media is blinded or the pulse is uneven. Inspect the element and the cleaning system before replacing, since a stronger pulse alone may not restore a dust collector filter cartridge.
Question three: Is a dust bloom at the outlet always a filter failure?
Answer: Often, but a poor seat or damaged gasket can produce the same sign. Check the seal first. If dust persists with a sound gasket, replace the element and verify downstream conditions.
 Hot News
2026-11-22
2026-11-22
2026-11-22
2026-11-22
2026-11-22
2026-11-22
Renhe focuses on air filter cartridge, gas turbine air filter, Pleated Filter Media, industrial dust, Our main products have been recognized as high-tech products in Jiangsu Province, famous trademarks in Wuxi City, and CE certification.
NO. 31 Xingyuan Road, Jiefang Industrial Park, Gushan Town, Jiangyin City, Jiangsu Province, China (214414)
Copyright © 2024 Jiangsu Renhe Environmental Equipments Co., Ltd Privacy Policy
 EN